


Start using the Terraform platform of the future.
This was written by Jack Roper, a guest blogger.
To get started using Scalr with Azure DevOps, there are 3 initial stages to go through. In this series of 3 posts on using Scalr with Azure DevOps, I will walk through each stage step-by-step.
This first post in the series will focus on stage 1 — picking a workflow.
Post 2 in the series will describe how to add Azure credentials and link them to an environment.
And finally, post 3 in the series will focus on how to execute your Terraform code and create a workspace, both using PR automation, and by Plugging the CLI into Azure DevOps. There is a third way to create a workspace using the module registry as well, but this still uses the VCS connection.
Let's go!
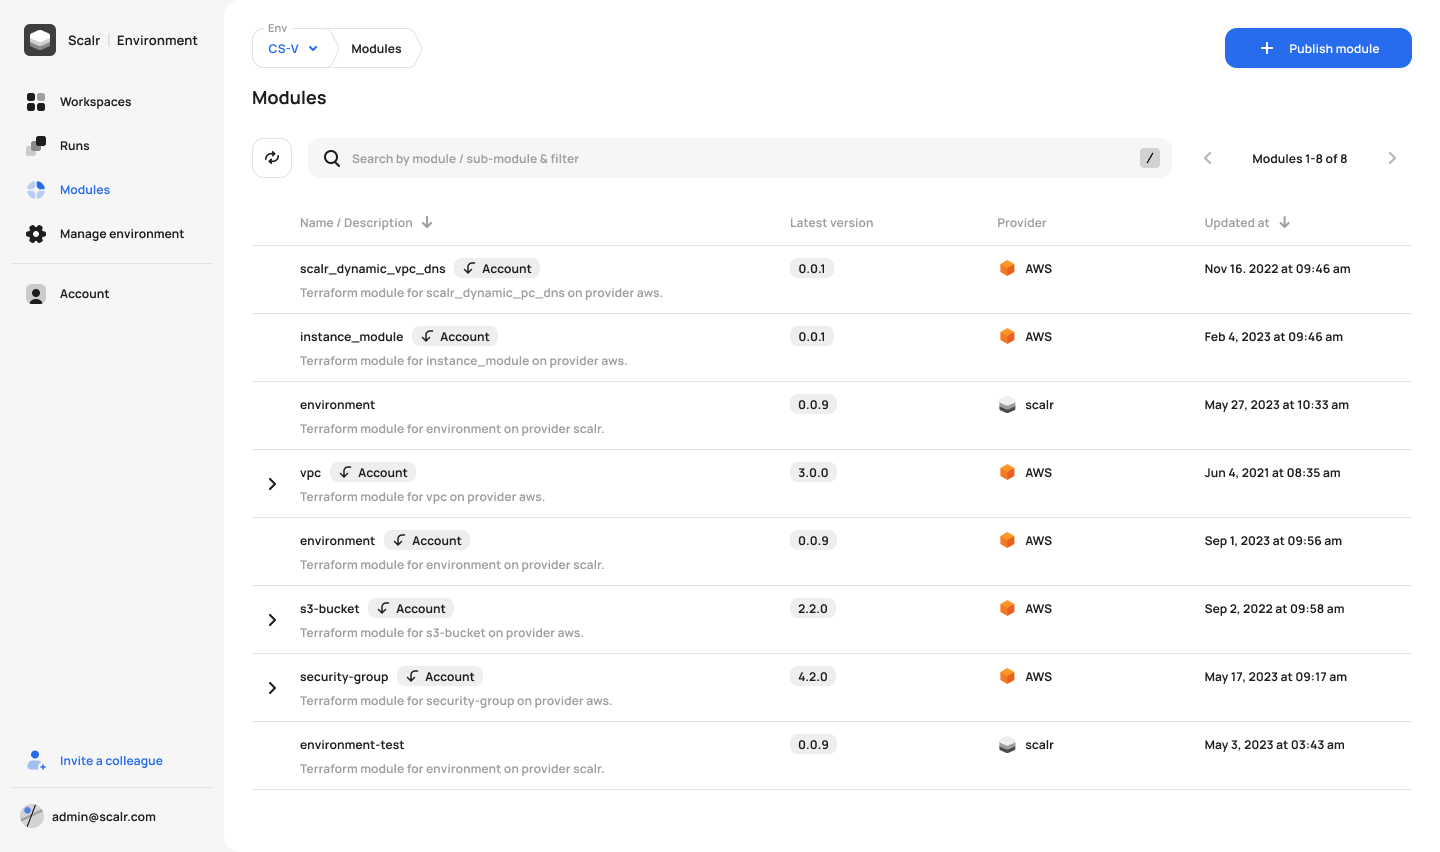
Scalr is Terraform Automation and Collaboration (TACO) software that has support for pull request automation, native Terraform CLI, or module-driven workflows. Scalr helps organizations of all sizes scale through its hierarchical model that centralizes admin operations like RBAC, policy control through OPA, operational views, and a private module registry, resulting in controlled decentralization of Terraform operations allowing developers to execute Terraform workflows within environments independently.
Also from https://docs.scalr.com/en/latest/introduction.html:
Scalr is a remote operations backend for Terraform. What does this mean in basic terms? It executes Terraform operations and stores state, regardless of the workflow, in Scalr itself allowing for easy collaboration across your organization. That means you can easily onboard an existing GitOps or native Terraform CLI based workflows into Scalr with little to no modification to your actual code.
The 2 ways to get started with Scalr depending on your workflow are:
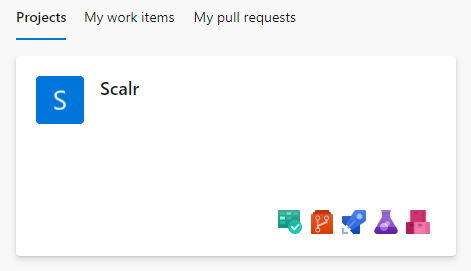
First, we will need to choose the project in Azure DevOps you want to link with Scalr. I’ve set up a test one:
Inside my Project, I have a repo called Scalr with some basic terraform files. When applied the configuration will create a given number of Azure AD Groups.
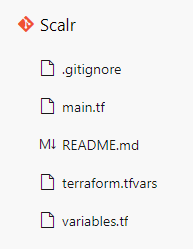
main.tf
variables.tf
terraform.tfvars
Scalr can Integrate with several VCS providers to automate your GitOps workflow. Let’s run through setting it up with our Azure DevOps repo step-by-step!
When you first log in to your Scalr account, you will be greeted with the following:

Clicking on ‘create VCS provider’ and then ‘Azure’ presents the following options:
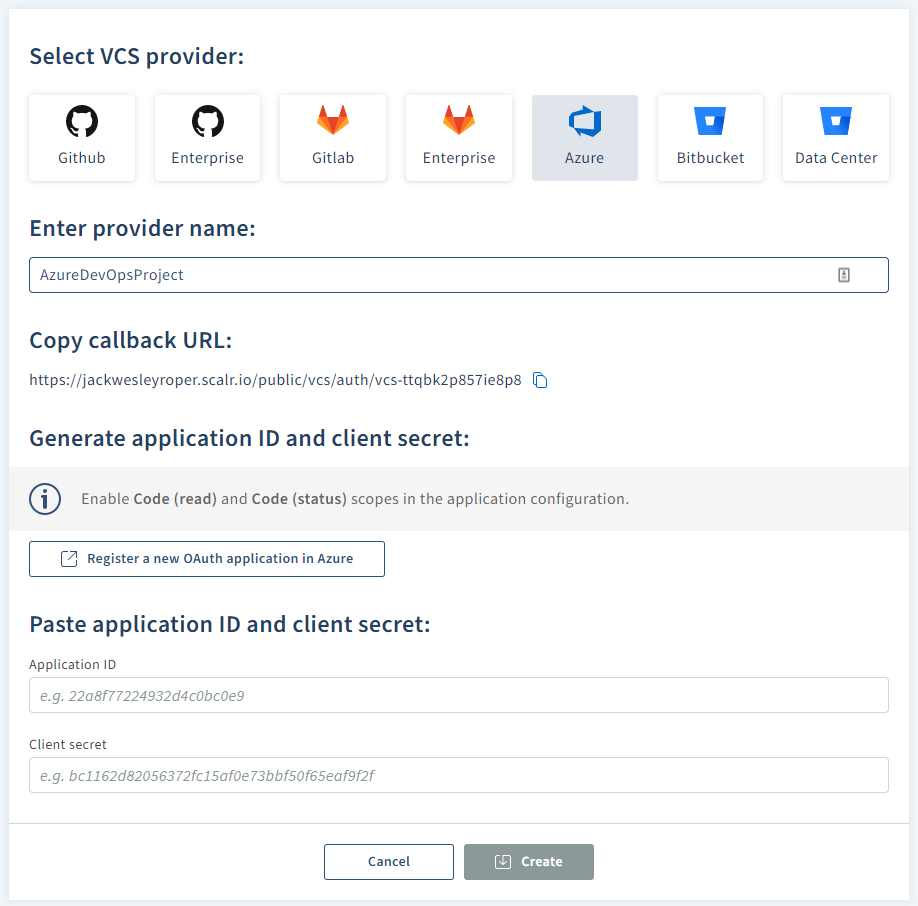
1. Enter your provider name (e.g. AzureDevOpsProject)
2. Hit the ‘Register a new OAuth application in Azure’ button, it will take you to register an App in Azure DevOps — https://aex.dev.azure.com/app/register

3. Copy the callback URL and paster it into the Authorization callback URL in the Azure DevOps page

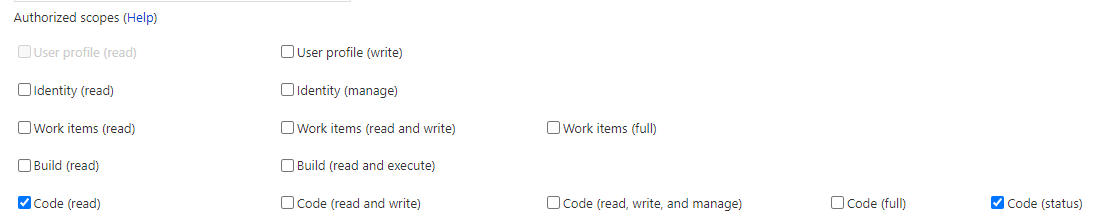
4. Under authorized scopes, tick code (read) and code (status).
5. Fill in the company name, Application Name, and Application website fields, then hit ‘create application’. Your application settings will be presented:
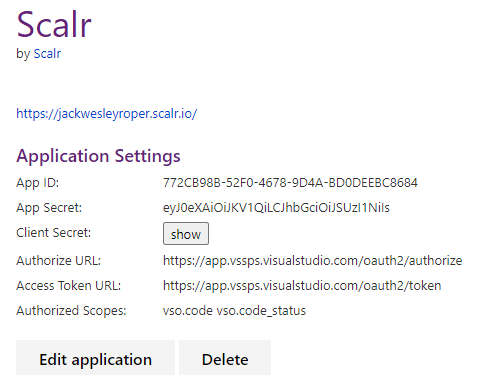
6. Back in Scalr, paste your app ID and client secret and pres ‘create’:

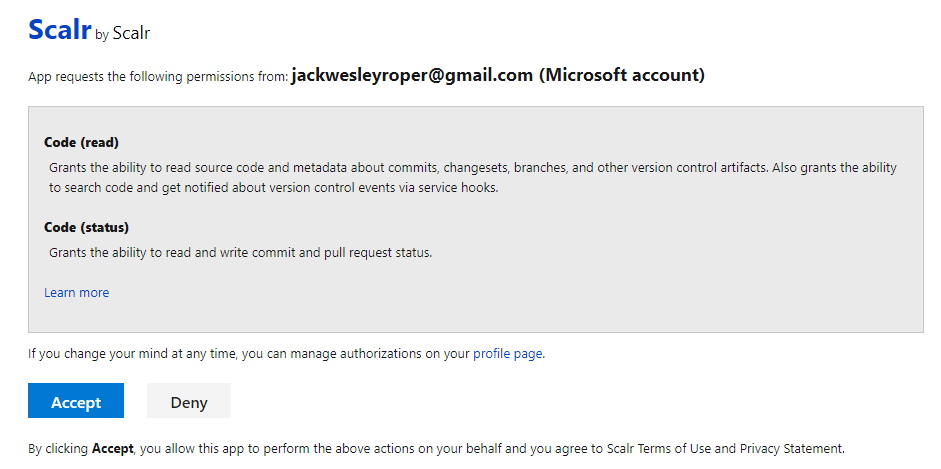
7. Hit accept:
8. Scalr will now show the Azure DevOps is connected.


If an existing workflow already exists that utilizes the native Terraform CLI or you just want the flexibility to use it, you can continue to use the Terraform CLI as it is fully supported in Scalr. Scalr will execute the runs in a container in the Scalr backend, but the logs and output will still be sent back to your console. To utilize Scalr as a remote backed there are a few simple steps:
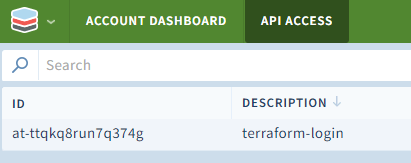

2. Press ‘Create API Token’, then copy the resulting ID and Token.
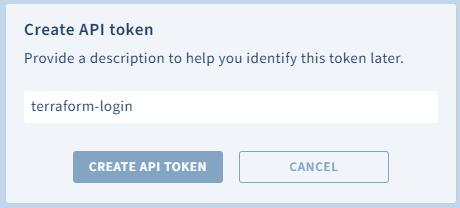
The token should be displayed in Scalr.
3. Paste the token back into the command window:

Note that the Scalr Terraform provider can be used to manage the components within Scalr. This will allow you to automate the creation of workspaces, variables, VCS providers, and much more.
We have connected our VCS provider, (Azure DevOps) to Scalr and also shown how to Authenticate to Scalr with the Terraform CLI.
Next part 2 in the series on Scalr will look at how to add Azure credentials and link them to an environment.
Cheers! 🍻
