
.webp)
.webp)
.webp)
Your costs = usage. Period.
This tutorial will walk you through the basics of using Scalr as a remote backend for Terraform. Scalr is a Terraform collaboration tool that provides a centralized runtime environment, state file storage and locking, policy enforcement with the Open Policy Agent, and role-based access controls.
Within a couple minutes you will have deployed a virtual machine with Google Compute Engine using Terraform and Scalr. Please note that we’re taking the example of a virtual machine here but Scalr can deploy any resource that Terraform can.
To get started, you need to give Scalr access to your GCP account. The easiest is to create a Service Account access key within your project and upload the JSON file to Scalr. If you don’t know how to do that, click here. Note that you can also use whatever process you have already implemented for Terraform: Hashicorp Vault, environment variables, …
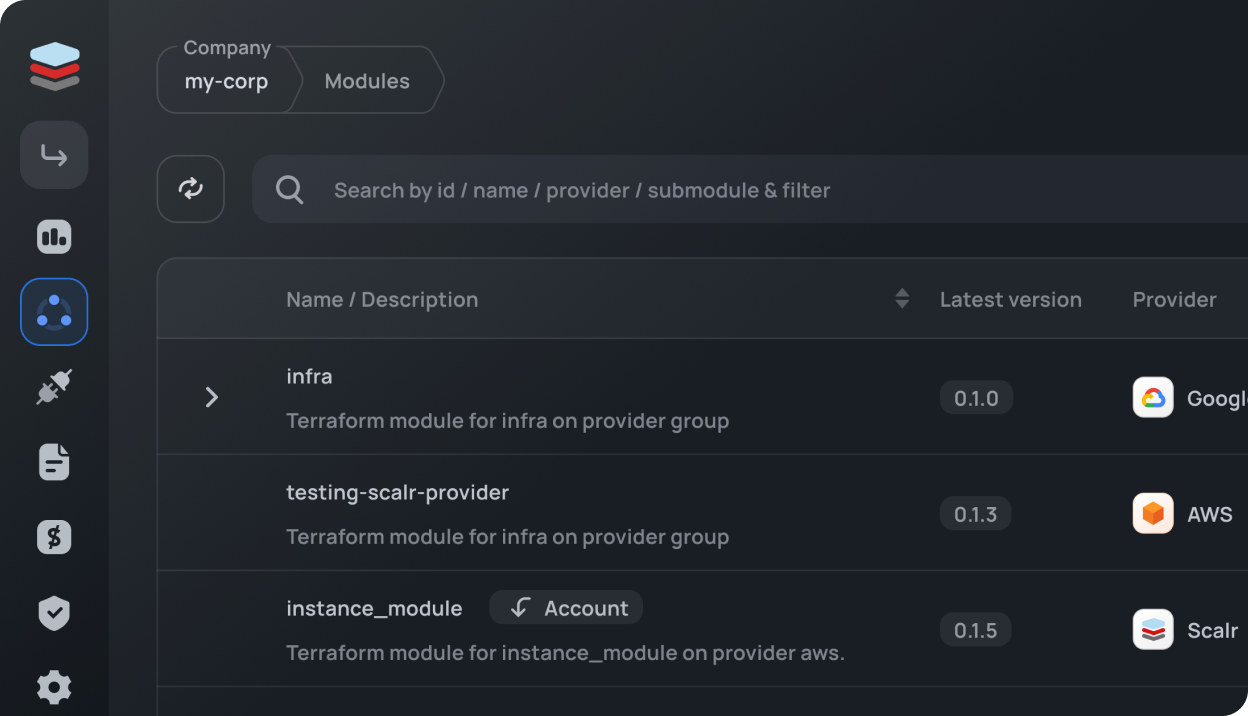
Click on Account in the bottom left corner and go to the account level.

Note: The account level is used for admin tasks - adding cloud credentials, connecting vcs providers, managing users and teams, … The environment level is used to manage workspaces. You can read more on this here.
Click on Provider Configurations from the account dashboard. Click on Create Configuration and select the Google Cloud Platform. Enter a name, the Access Key ID and the Secret Access Key. Click save.

Click on the profile icon on the top right corner of the screen. Click on API access. Click on Generate API Token and save your token.

Go back to the environment scope and copy your Organization ID from the dashboard.
For this step you can decide to use your own Terraform code or use the starter main.tf file that we’ve built for this tutorial.
If you have a UNIX-based computer and want to use our starter code, open your terminal and run the following script:
It will ask for the Scalr account name you chose when creating your account, the Scalr token you retrieved earlier and a workspace name of your choice. This script creates a main.tf file that will deploy a virtual machine. It will also append your Scalr token to your ~/.terraformrc file so that the Terraform CLI can talk to your Scalr account.
If you are using your own Terraform files, append the Scalr token to the CLI configuration file.
Run terraform apply to provision the instance. Go to the Scalr UI to check that everything went well. Check that the instance has been deployed by going to your GCP console.
Run terraform destroy from the terminal to remove the instance we just launched.
Congratulations! You have successfully deployed an instance on GCP using Scalr and the Terraform CLI. Note that you can also provision resources through VCS integration (GitHub, Gitlab, Bitbucket), the Scalr API and the Scalr UI.
The next step in your Scalr journey is to invite members of your team and connect a VCS provider.
Using another cloud provider? Check out Get Started With Scalr on AWS or Get Started With Scalr & Terraform CLI on Azure.
